I know I mentioned these slippers briefly in a past entry and I promised to follow up on them and give more information, so here it goes.
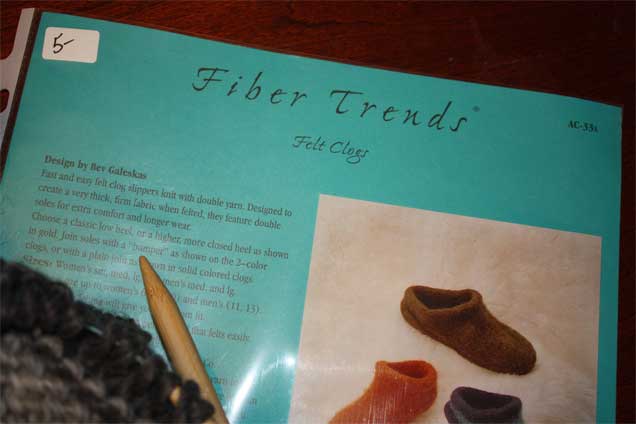
The pattern is from Fiber Trends: Felt Clogs which can be found by following the link. I swear this pattern is like magic. Like any good recipe, it never fails. And it’s so much fun to knit up. I especially love the shaping parts. Once you know the pattern you really don’t have to keep reading because you know when you come to your slipped stitch it’s time to decrease and turn.
I first learned how to knit these cozy slippers (to me they are not clogs!) in a class taught by Julie at My Sister Knits back when we lived in Ft. Collins. {OH! How I miss that yarn shop! I could cry just thinking about it.} After that there was no turning back. I couldn’t be stopped from offering to make them for everybody I could think of.
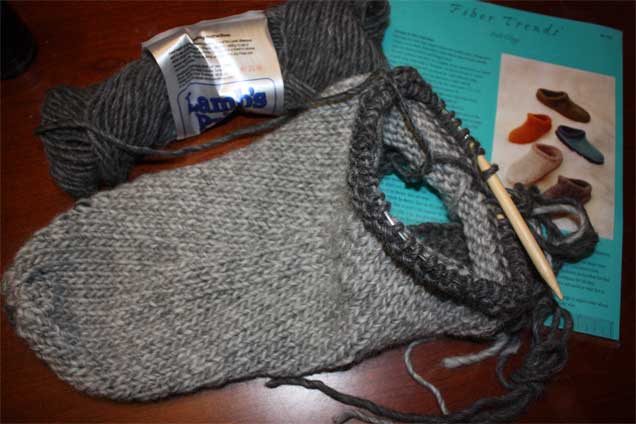
The actual pattern calls for using two strands of worsted wool, but I knit them the way that Julie did. With Brown Sheep Lamb’s Pride Bulky, so only one strand is needed. Plus, the Lamb’s Pride is 85% wool / 15% mohair which gives the slippers extra fuzziness when felted. I can’t imagine using anything else although I have seen other yarns used with the pattern and I didn’t think they came out looking as nice.
I always make them two color: one color for the sole and cuff (you’ll need two skeins of whichever color you choose); and one skein of yarn for the body of the slipper. If you make the largest men’s size you may need an extra skein for the body, as when I made Rick’s I had just barely enough! I double sole them, so the first sole is knit first and incorporated into the body of the slipper. The second sole is worked separately and joined on to the first. Some people put leather soles on them but we like them better without it. The leather sole takes away the soft, cushy feel. Of course without the leather soles you can’t walk outside when it’s wet in them because they work just like a sponge!
Here is the slipper with only one sole, the seam still needing to be sewn.
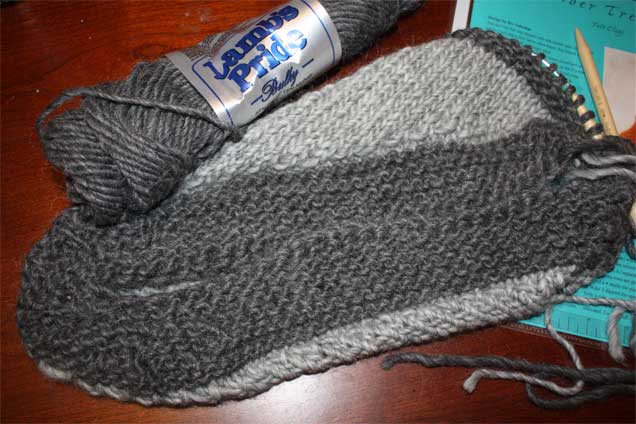
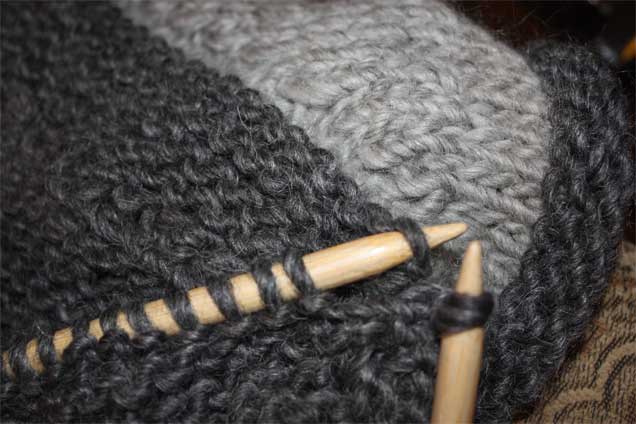
The pattern has the slippers being more of a scuff style where you can slip them on your feet but we prefer a higher heel, so I knit four extra rows before continuing with the cuff.
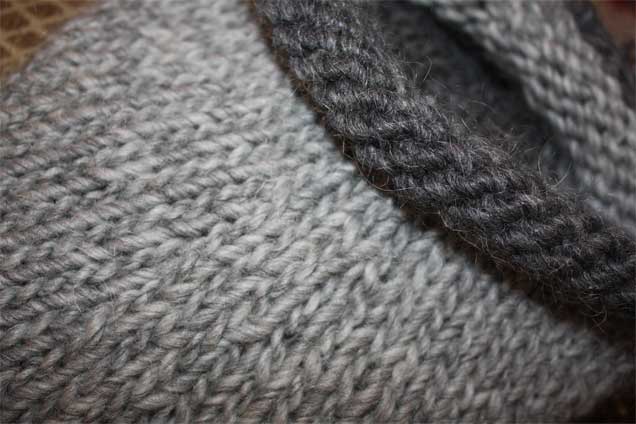
Close-up of the cuff.
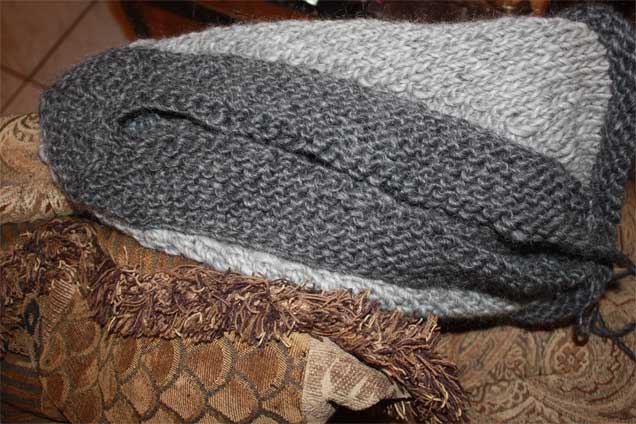
The pattern calls for a more complicated joining of the outer sole, but again, I follow Julie’s easier join. It’s a matter of picking up a stitch from the first sole, knitting that stitch plus the next stitch on the needle together, then binding off as you go along. Simple!
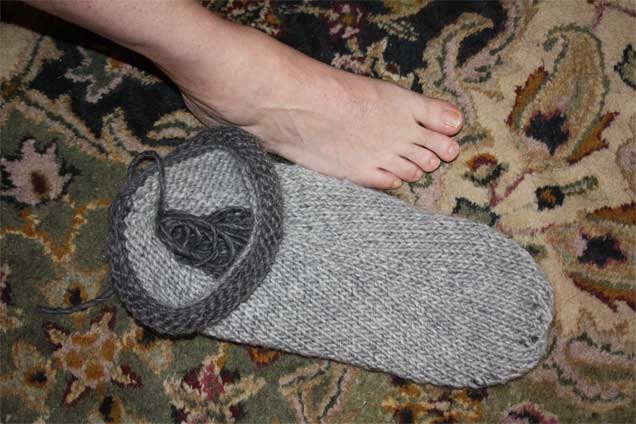
The outer sole joined but not seamed.
Here is the slipper before felting next to Rick’s foot and next to his old slippers to give you an idea of how big they are to begin with. At this point you are wondering if they are ever going to fit properly!
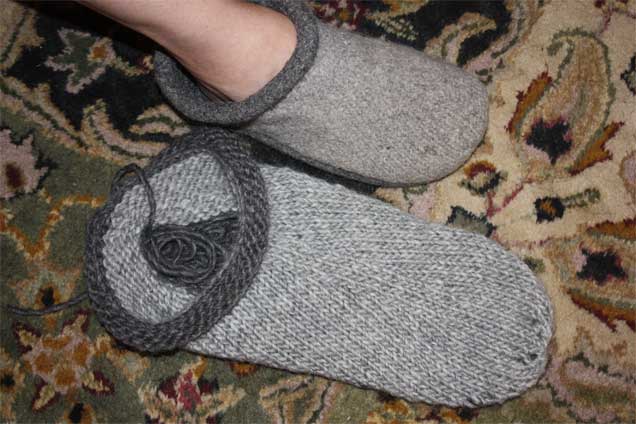
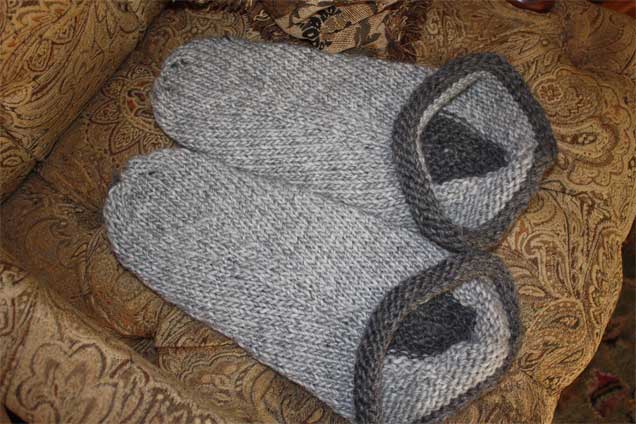
Now for the felting process! I toss the slippers in a pillowcase using a rubber band to keep it closed. I also toss an old pair of sneakers into the washer along with the slippers to give extra friction for faster felting. Use the hottest water possible, only allowing the cycle to run until it’s ready to spin. Don’t spin your slippers!!! Take them out, gently squeeze the excess water out of them (I am lucky enough to have a laundry tub next to the washer) and reshape them while letting your washer finish its cycle by itself. Here they are after the first run-through.
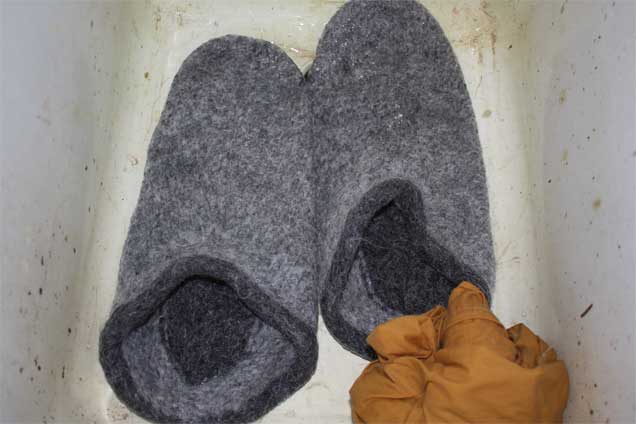
Reshaping the slippers after each cycle helps to keep lumps and bumps from getting set in. You want a nice smooth surface for your slipper, now don’t you? Put them back in the pillowcase and repeat the process until you reach the desired size. Mine typically take three wash cycles before they reach the right degree of felting and sizing. Here they are after the second cycle.
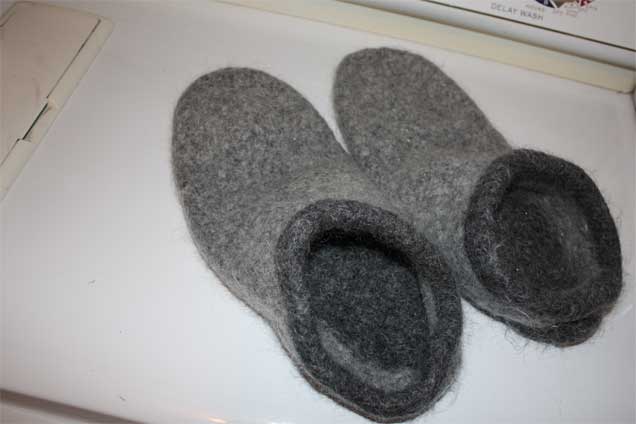
And the third.
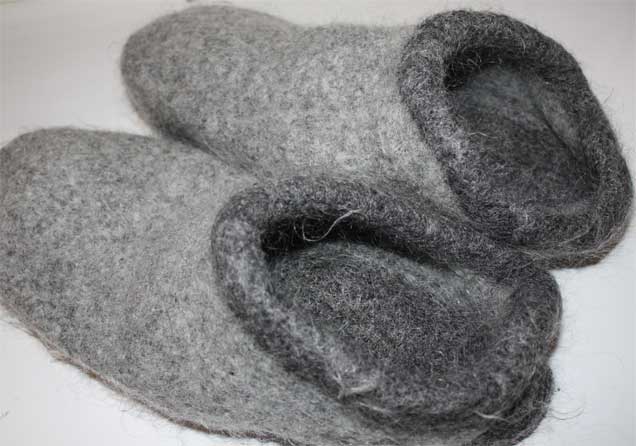
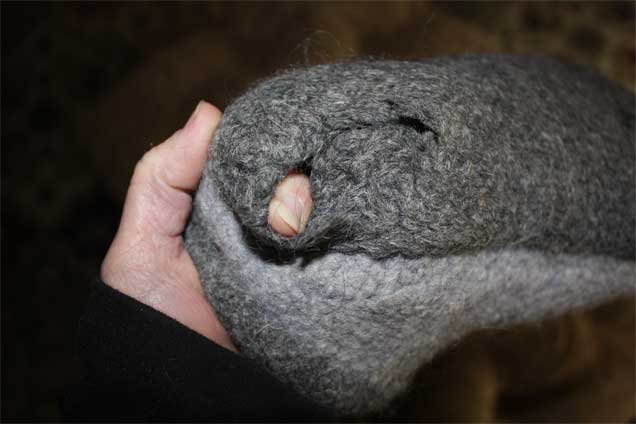
See what the mohair does for them? Look at the fuzz!
When you’re satisfied, gently press most of the water out of them but don’t wring them out. Shape them carefully by getting out all the little dips and kinks that might have popped up during washing. Just remember that they will dry in whatever form you put them in! Place them on a thick towel to dry. I like to stuff mine with balled up plastic grocery sacks for the first day or so. It helps them to keep their shape. You can take them out when the slippers have dried sufficiently to hold their shape on their own. It will take several days before they are fully dry. Sometimes I put mine on our heated towel rack to speed up the process. Don’t worry about right and left; the slippers will conform to your feet once you start wearing them.
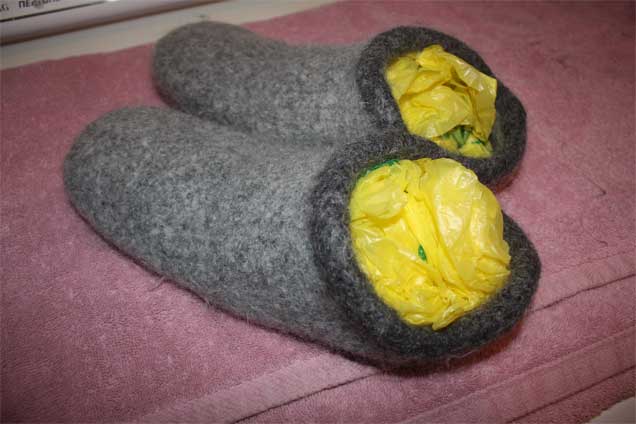
Behold the finished slippers!
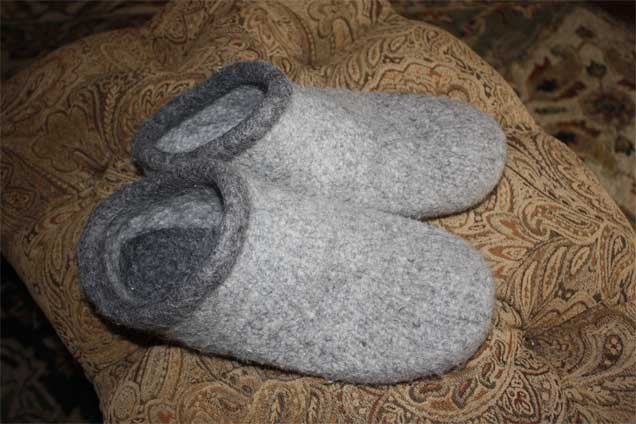
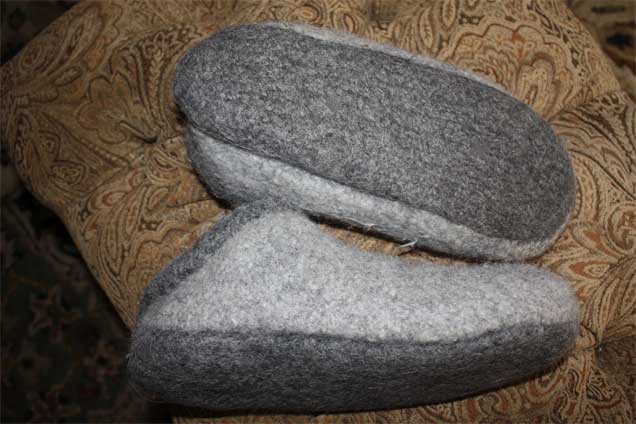
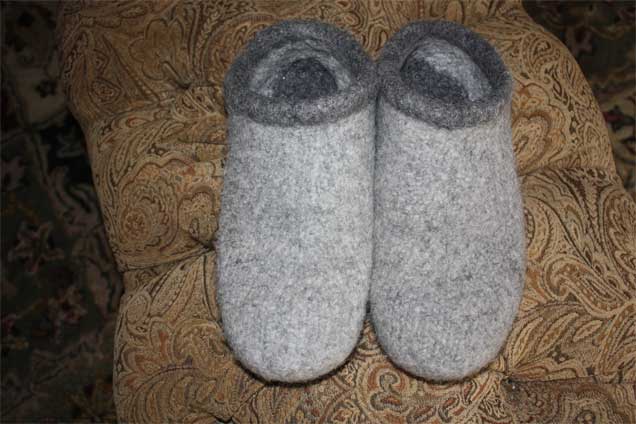
Nothing else left to do now except put them on your feet and let them glory in the warmth and coziness! Rick swears he never needs any other kind of slipper ever again!
I am making myself a new pair now as my old ones are worn through. It’s time, don’t you think?
Posted by Lynne on 01/13/2010 at 09:21 AM
Filed under:
Daily Life •
Knitting & other crafty things
