Posted by: Rick
Our Christmas gift to each other was a snow plow for the Polaris Ranger. We have a snow blower, and it will come in handy for deep snows and cleaning up after a big snow. But, having a plow makes quick work of the driveway, drifts at the exit of our property, the parking area at the cabin, and maybe even for the main road to the point it meets with our neighbors. It is especially helpful when we have only a few inches of snow--too much to just ignore but too little to warrant the work of the snow blower.
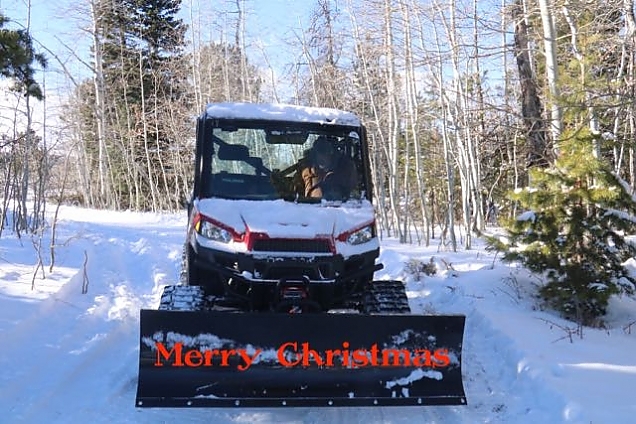
So, we called the Polaris dealer in Laramie and ordered what we needed. There were four items: a mount to go on the Ranger, the plow frame, a track extension to the plow frame, and the blade. We picked these up on Thursday, expecting a big snow on Saturday afternoon. Installation was supposed to take a couple of hours on Friday.
I put a portable propane heater in the shop side of the barn and warmed it up some. The plow frame and extension could be assembled in the warm, dry shop. I then attached these to the blade outdoors, and had the job mostly done. Only the mount for the Ranger was left, and this was advertised as a 45 minute job.
To mount the mount, I had to work outdoors where it was pretty cold. I put a large piece of 2" thick foam board on the ground and laid on that to do the job. My body heat was reflected and it was actually comfortable. As is typical for me, even after reading the instructions multiple times, there are terms I don't fully understand, I don't really have all the right tools, and I get ahead of myself sometimes requiring work that has been done to be undone and redone. But, after about an hour and a half, I had the mount mounted!
Now on to the big moment. I drove the Ranger up to the plow assembly and followed the mounting instructions. It just didn't work. Parts were not lining up where they were supposed to be. Although I saw that there was no way this plow assembly was going to mate to this mount, I kept at it for a while; scratching my head; trying this and trying that. I finally gave up.
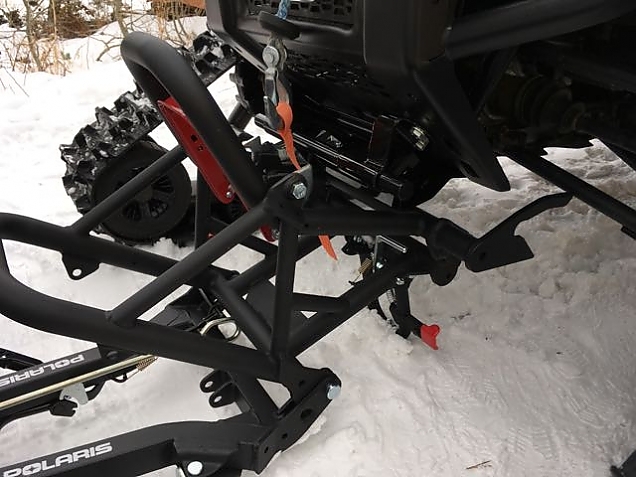
Something is not right here.
On Saturday, I brought the assembly instructions inside and started going over them all again. Suddenly, I noticed that the mount was for a Glacier II plow system and I had ordered a Glacier Pro! I called the dealer in Laramie and had to get a bit testy with them to convince them they'd given me the wrong mount. Finally, the owner got on the phone and we figured out there was a printing error in their catalog. The two mounting systems, which are very different, had the same part number. Sure enough, I had laboriously, in freezing conditions, installed a mount that would never work.
Despite the threat of heavy snow in the afternoon, we drove into town and picked up the right mount. I picked up the tools I needed to make the job easier. We got home mid-afternoon.
I immediately began the process of uninstalling the wrong mount and reinstalling the right mount. Turns out the right mount was very easy to install. But, the wrong mount was hard to install and deinstall. It even had some electrical splicing that I had diligently done that was not needed. Saturday was warmer than Friday, but very windy. Still, using the wood shed as shelter, I got the swap done.
Now the big moment. I drove the ranger up to the plow. Inched forward. Click! I got out to see that everything lined up and clicked into place. I hooked the plow up to the winch on the Ranger and was able to raise and lower it easily. I even plowed the 2" of snow we had!
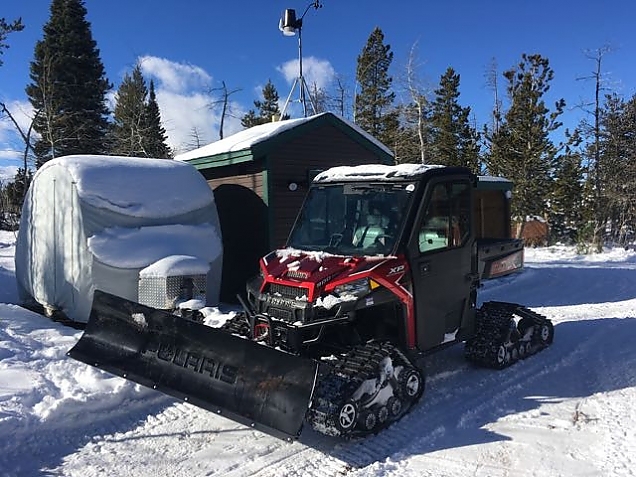
Everything is working now.
Good thing this got done, too. Overnight Saturday we got 5" of snow, maybe more in a few places. I had a great time plowing the driveway and parking area, and Hidden Meadows Ln down to Wapiti Way.
One has to be careful when plowing as opposed to blowing snow. Plowing creates piles of snow that can easily become snow fences and actually make future snow management more difficult or impossible. I work hard to keep the piles on the north and east sides of the road and driveway. We can get wind from those directions, but the dominant direction is from the south, southwest and west.
Sunday afternoon was pretty and sunny, although windy. At least the winds were from the "right" direction. I think Monday and Tuesday are going to be nice, too. But, then we are predicted to get snow again for the rest of the week. Our Christmas Gift Plow is likely to get a workout!
Here are a few shots of my work early on Monday morning:
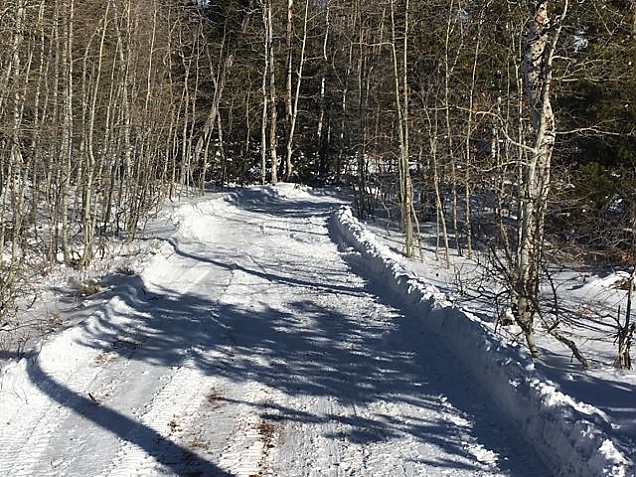
Our driveway.
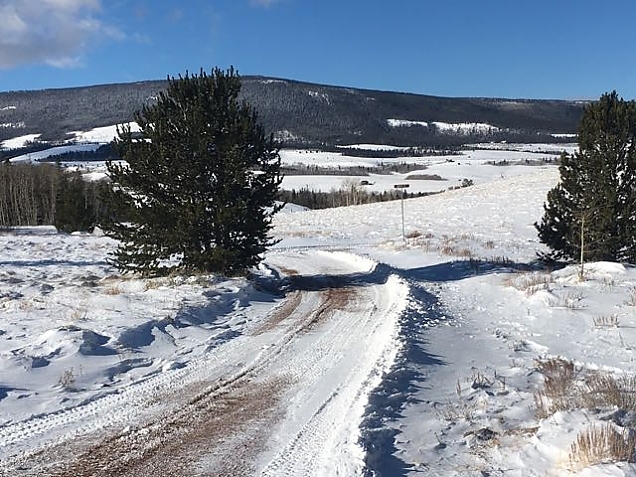
Hidden Meadows Lane from the top of our driveway.
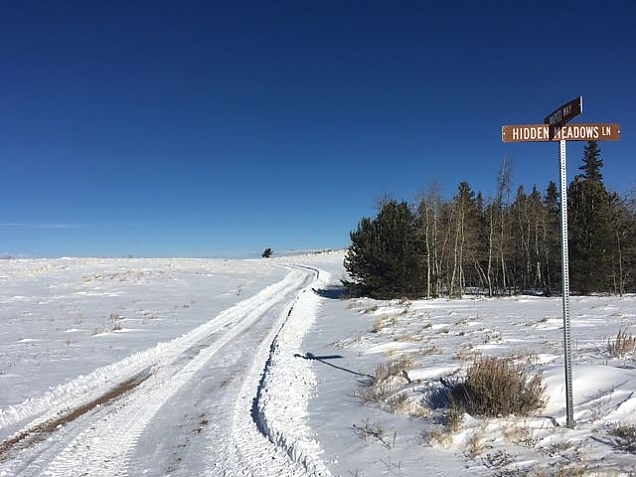
Forest Service Circle / Wapiti Way -- the way out toward town.
Posted by Rick on 12/11/2016 at 04:08 PM
Tags:
ranger,
weather,
projects,
snow
Filed under:
Projects •
Winter
Permalink
Posted by: Rick
Another quick side project is done. I built a rack for the canoes, secured to the east side of the cabin. There, they get the least exposure to wind and snow. Sure beats having them just lay on the ground. And, it eliminates the need to occasionally go find the aluminum canoe in the woods and drag it back home!

Posted by Rick on 11/08/2016 at 06:52 AM
Tags:
projects
Filed under:
Projects
Permalink
Posted by: Rick
Today, we completed another winter prep project--the Ranger now has tracks!
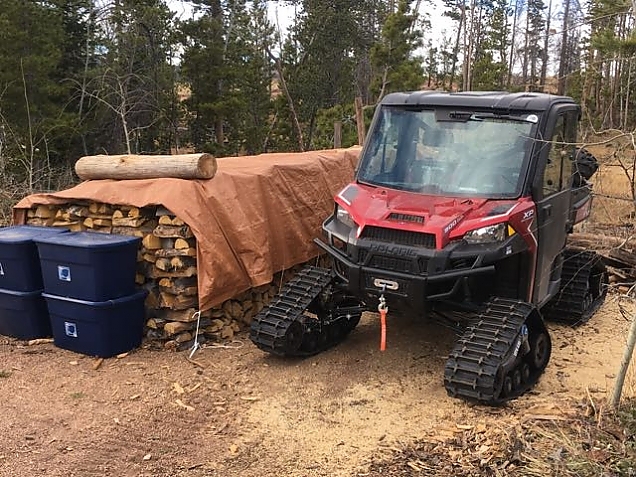
Ranger with her Camoplast tracks, ready for snow. Parked next to 4 cords of wood.
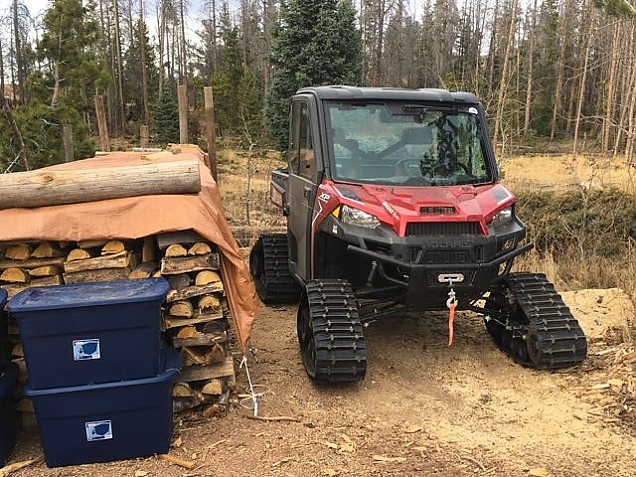
A slightly different viewpoint.
So, as you can see, we have lots of wood. That is about 4 cords in the photo and we've got well over two cords in the woodshed. All we really have left for winter prep is a provisioning trip to Sam's Club and the butcher.
It was actually quite an ordeal. The Polaris dealer in Laramie offered to loan me a trailer which will carry the Ranger. So, on Tuesday, we drove into town, got the trailer, drove back home, loaded the Ranger on the trailer (after using the winch to move the T@B into her winter resting place), drove back into town, dropped off the Ranger and the trailer, did some shopping then came home. It took all day long!
Then, today, we reversed those logistics. (We really need a trailer.)
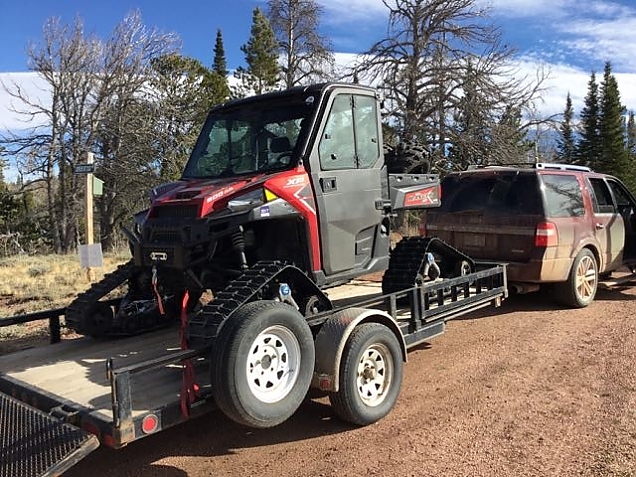
Bringing the Ranger home (we still need a name).
The good news is that now they are mounted and adjusted, I should be able to swap between tires and tracks on my own. Oh, I'll need to buy lots and lots of new tools, of course. But, I can be more self-sufficient.
Here are a couple of photos of the T@B move. Normally, on pavement, Lynne and I can move the T@B with some pushing and pulling. But, on the dirt driveway, it was just too heavy. So, we used the winch on the Ranger to pull the T@B toward her winter parking place, we then used manual labor to turn her and get her lined up. Then, the Expedition backed her into place.
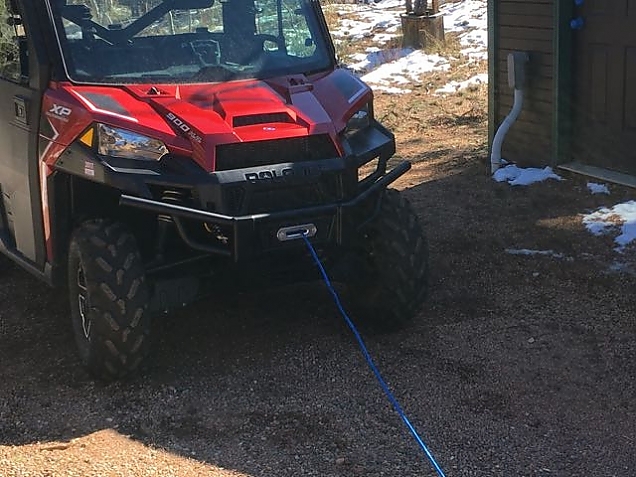
The winch on the Ranger.
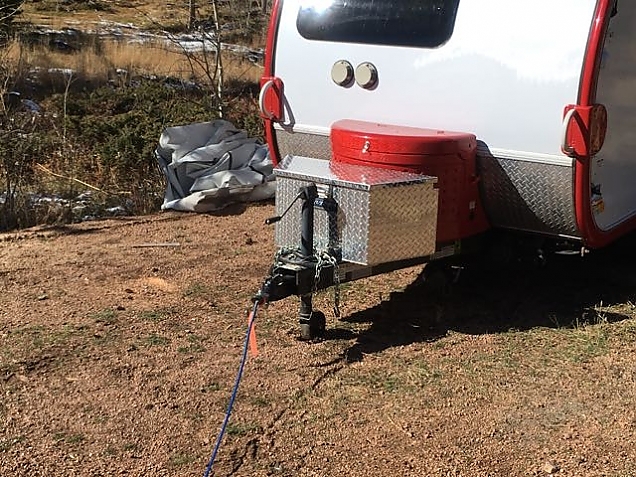
Connected to the tongue of the T@B.
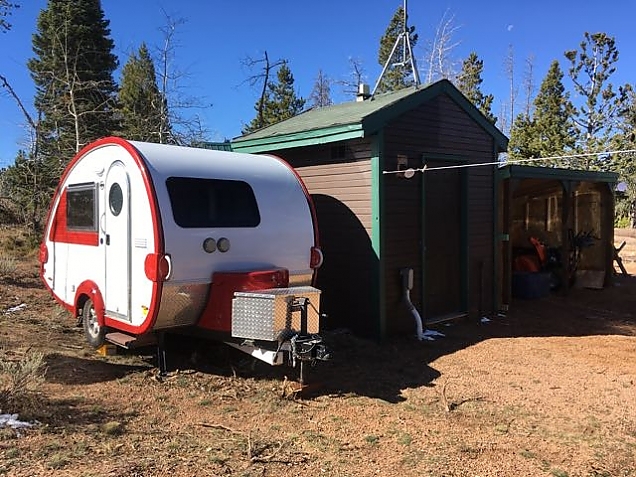
The winter parking spot, sheltered from the wind. We'll put the cover back on soon.
Posted by Rick on 10/27/2016 at 03:28 PM
Tags:
photos,
t@bbing,
projects,
winter-prep,
ranger
Filed under:
Projects •
Autumn
Permalink
Posted by: Rick
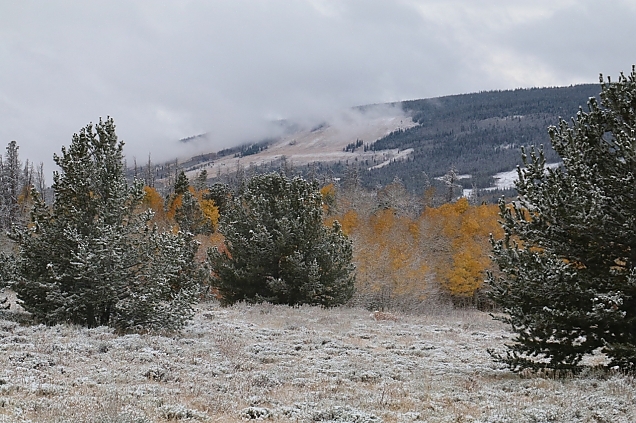
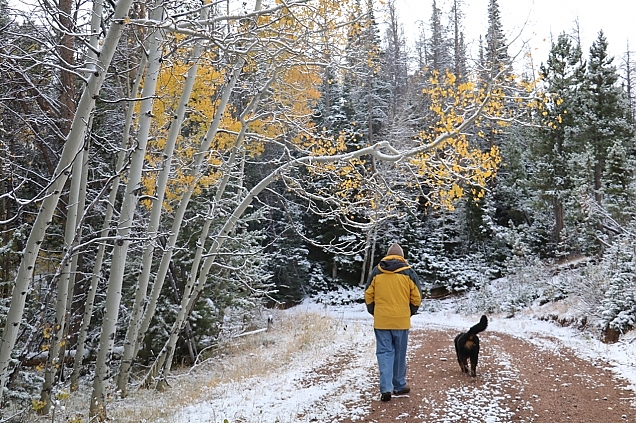
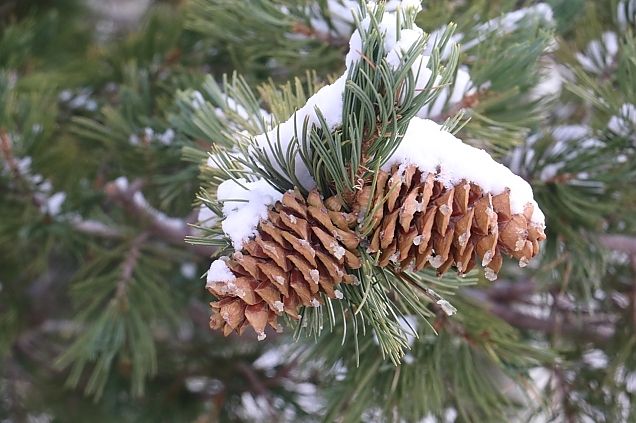
We woke this morning to a bit of snow on the ground and a fine powder of snow still falling from the sky. It was predicted, and won't be enough to "bother" us in any way. It is really pretty outside, but a sign of things to come.
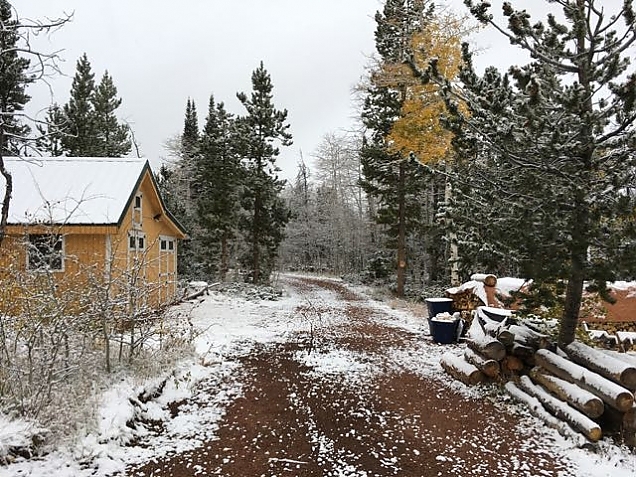
This is looking up our driveway.
One nice thing about snow is you can see the tracks of animals. It was clear that a coyote had been behind the cabin walking around sometime since the snow fell, for example.
You can see in the photo above that we've got a large pile of about 4 cords of wood covered by a brown tarp. And, more wood ready to be cut. That was to be today's chore, but may wait for the weekend.
We have continued to make progress on our winter preparations. We now have a second refrigerator running off propane in the storage shed. We will be stocking that shed with supplies for the winter soon. The list is still being refined and we are polling others that live up here year-round how they prepare. I guess toilet paper and pet food are at the top of the list. The wood shed is done--even beyond my previous post--as I've put up some trim so it really looks nice. Just needs paint now. We've ordered the tracks for the Ranger, and they should be here in a couple of weeks. And, we are pondering whether it makes sense to get a snow blade also. Inputs welcomed.
Here are a couple of other photos I took on my phone while letting the dogs out this morning. Lynne may add a photo or two and commentary too, so watch for that.
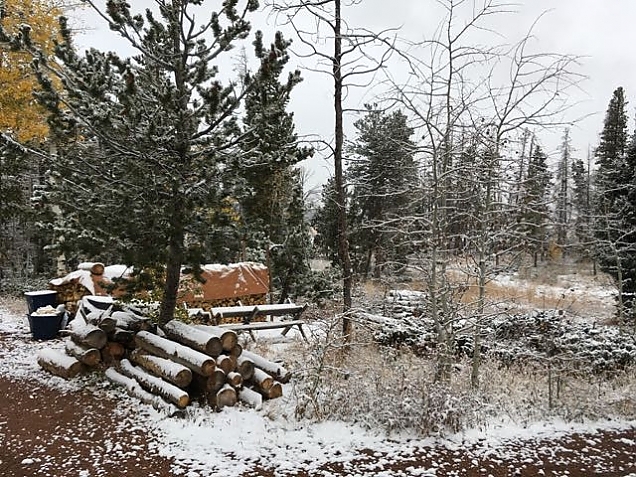
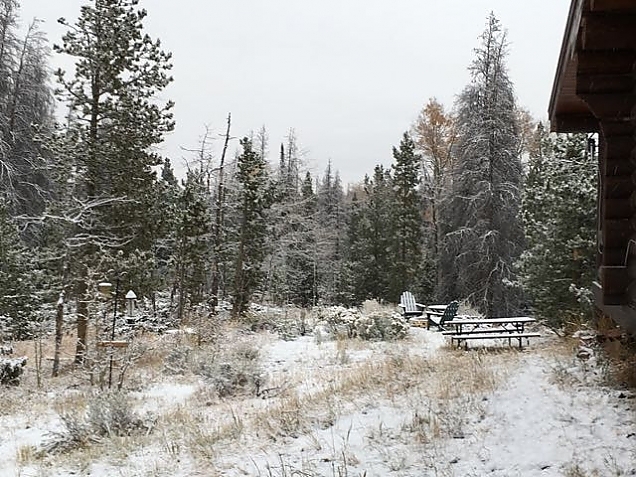
Okay, Lynne here now! Rick is right, this is just a sign of things yet to come. Last week we had a glorious Indian Summer week of weather. Perfection! Now Mother Nature is messing with us and we've had snow showers that looked like a blinding blizzard but didn't end up sticking much on Monday, high winds and much cooler temps all week long. Good old Mother Nature is sending us a sign that we'd better get busy and wrap everything up that we've started and not as yet finished because if she so desires, she will bring her fury on us.
Am I ready? Hmmm...not really. Not mentally anyway. I have to admit to being a little apprehensive if I have to be honest. I have this idyllis little scene playing in my head: Rick and I sitting around by the toasty wood stove reading, knitting, maybe watching a movie as the snow falls outside. Snowshoeing and cross-country skiing when the weather breaks. Somehow I bet it doesn't really play out like that.
But I do think that we've just about done everything physically that we can to be ready. We need to fill up the new wood shed, get the tracks on the Ranger when they come in and make a provisioning trip to Sam's Club. The rest will have to wait.
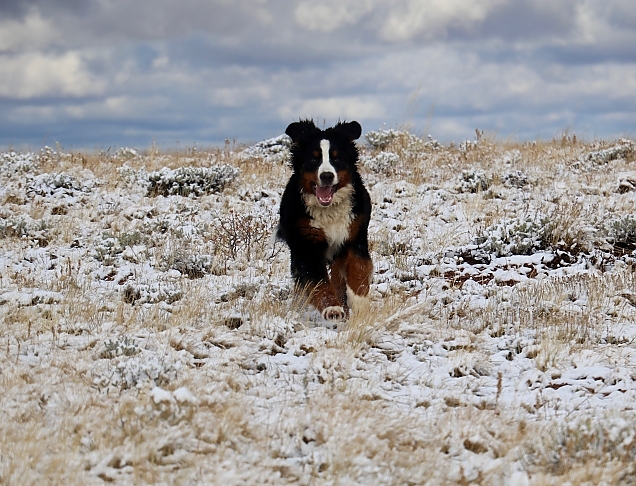
The dogs are certainly ready. Destin had a blast in the fresh snow this morning and we had a hard time rounding him up to come inside.
All in all, the beauty up here in the winter will be something to experience.
Posted by Rick on 10/06/2016 at 07:58 AM
Tags:
photos,
weather
Filed under:
Projects •
Autumn
Permalink
Posted by: Rick
I've done some woodworking--small projects, all--but, I've never done what I would call "construction". So, as with many other projects I have to get done up here, I embarked on something I don't really know how to do, relying on advice from friends, Google searches and YouTube videos: a wood shed.
First, I picked a location. Right next to our existing shed that holds the freezer, second refrigerator, and winter food supplies. We keep bird food in there too, along with other things we want access to with a short walk from the cabin door.
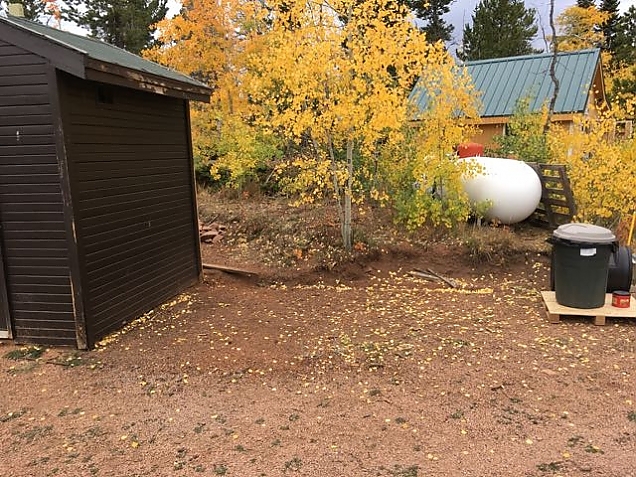
Shed location. This is looking south.
It will be (approximately) 7 feet deep, 12 feet wide, and built as a lean-to that is 7 feet high in front and 5 feet high in back. Of course, all good construction projects start with a detailed set of plans, drawn up with the help of a neighbor.
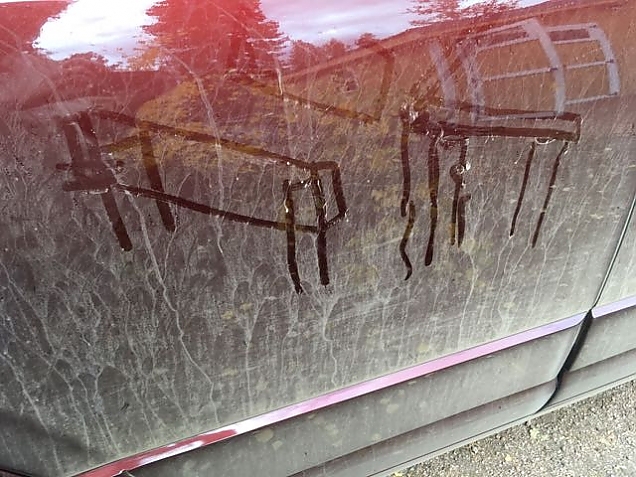
One reason to be thankful for dirt roads, I guess.
The plan is to set six 4x4 pressure-treated posts in the ground around which I can frame the shed. I have a manual post-hole digger, so started digging the holes as the first step in construction. I did okay on the two holes closest to the existing shed. But, the further I moved to the west, the harder the ground got. I finally gave up when I could not get more than a few inches into the ground. It felt like solid rock. So, on to plan B, which was to use pressure-treated 4x4 posts to build skids upon which I would then "mount" the shed. The trouble with that plan is the need to somehow anchor the skids to the ground. The common way to do that is with anchors that you auger into the ground and bolt to the skid frame. If I can't dig a hole, how am I going to auger the anchors into the ground? (It is important to be well anchored so the shed does not blow away in our 100 mph winter and spring winds.)
The answer came from a neighbor who offered to loan me his trenching machine.
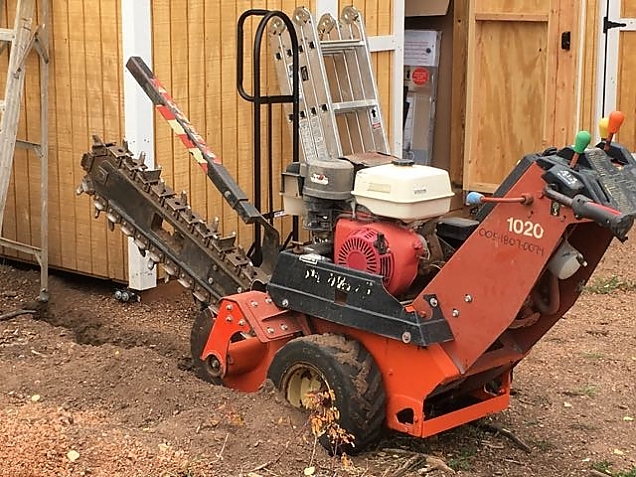
A borrowed trencher and "test" trench.
An astute observer will note that a trencher is for digging trenches, not post holes. But, I could dig a short trench with the deepest part right where I want the post! This trencher could go 24" deep and that is what I was able to do with the first couple of holes. I'd simply dig the trench, set the post, check it for location and level, fill the trench in while blocking the space right next to the post with some 2x4s, and then put some Quickcrete in the remaining hole next to the post! Voilá.
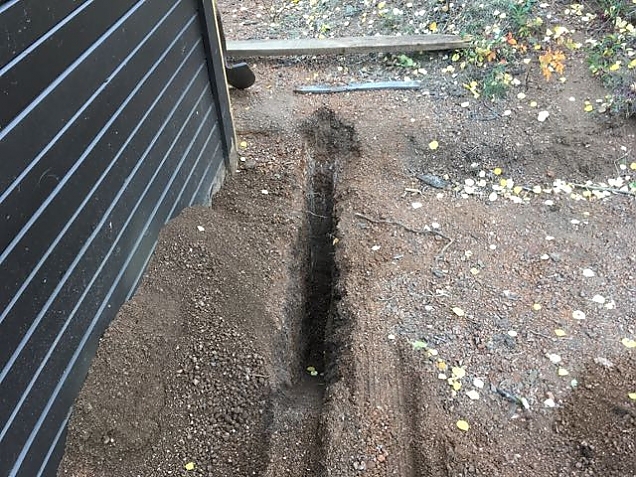
A post hole dug with a trencher.
I could not get as close to the shed as I had originally planned, but this solution was too elegant to care. I just slid the wood shed location over a few inches.
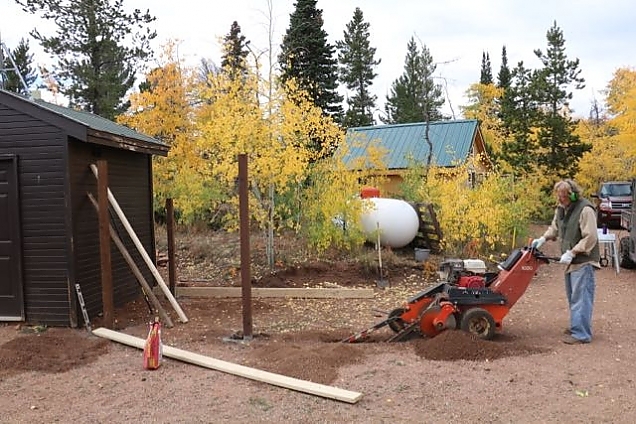
Rick, trenching hole #4.
It was a lot of work to get a trench deep enough where the ground was more rocky. I had to settle with 17" or 18" holes on the far west side. But, I think that will be fine given we set the posts in concrete.
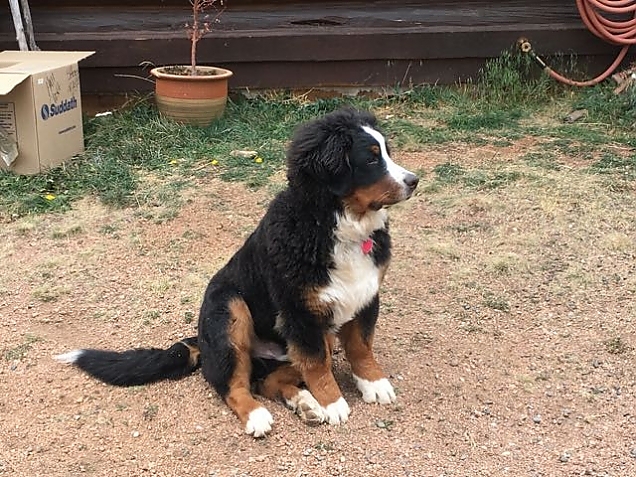
Destin, of course, is a big help. Especially with his love for fresh piles of dirt.
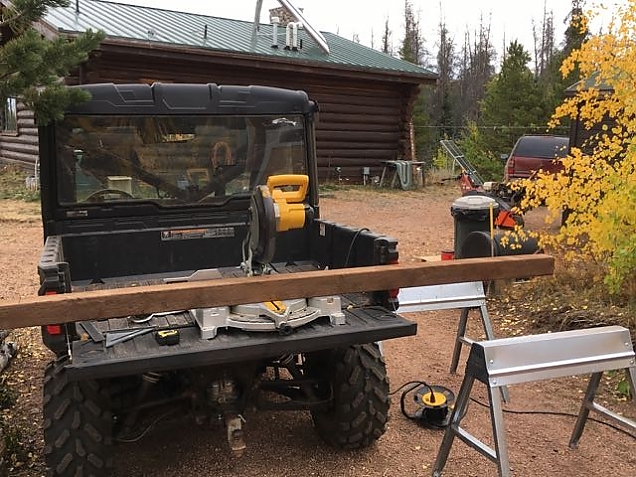
The bed of the Ranger makes a great work platform.
It was a bit of a challenge getting all the posts to the same height. And, really that is not the issue since the ground may not be perfectly level. The real goal is to get the top of the posts level with each other, the front posts about 7' high and the back posts about 5.5' high. Yeah, the wood shed grew some on the back end. I had three 10' posts for the front, and they were sunk into the ground anywhere from 18" to 24". And, there were three 8' posts for the back. I made a lot of measurements for trench depth and post height, and cut the posts accordingly. But, of course, they were not perfect and some needed anywhere from 1" to 4" cut off the top to make them level. However, with Lynne's help, they are pretty much exactly where they need to be to have a square and level wood shed when we are done. (What's an inch or two out of square going to matter, anyway?)
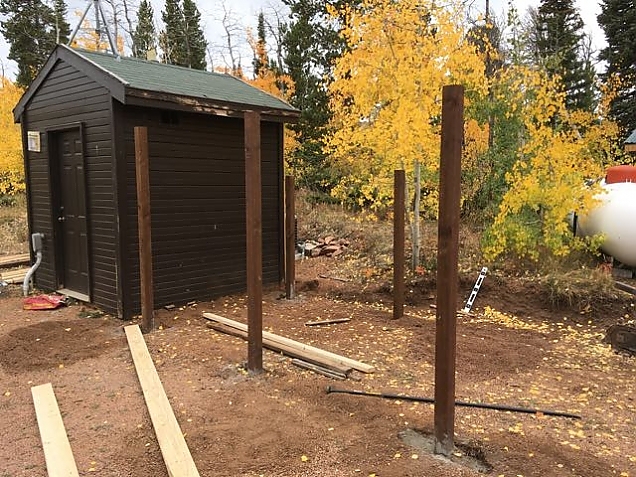
Here are 5 of the 6 posts set. (Note that the shed needs paint. Got to get that done somehow.)
To make these cuts and get the tops of the posts all level, I climbed on a ladder with the chain saw and made horizontal cuts. This is something my mother told me never to do. Chainsaws on ladders are a "no no"! Lynne gave me an earful when she came outside and saw what I was doing. Anyway, it worked and I'm still with all my arms and legs.
If you want to know how this wood shed turns out, you'll just have to click through for "More...".
More...
Posted by Rick on 09/29/2016 at 08:39 AM
Tags:
photos,
projects,
destin
Filed under:
Projects •
Autumn
Permalink
Page 3 of 8 pages
< 1 2 3 4 5 > Last ›


