We are embarking on a project to renovate our aging kitchen. We are using a great local design and contracting firm to do the work. We did not like the windows directly behind the range, with no possibility for a backsplash. The IKEA cabinets were starting to flake off paint and fall apart. We also wanted to replace the gas-only range with a dual-fuel range, hoping an electric oven would work better for us.
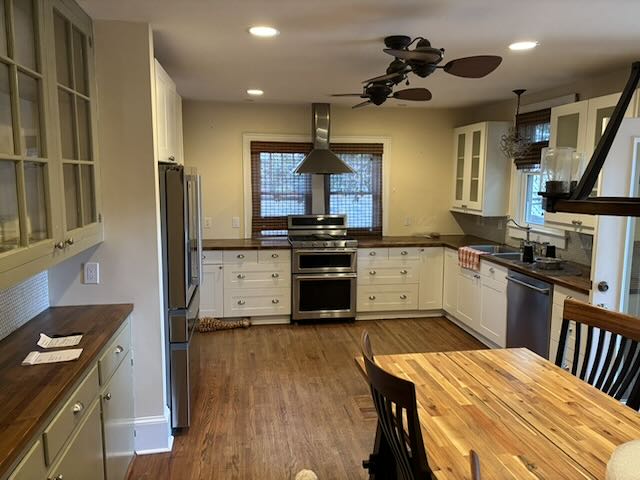
Here is a photo of the kitchen before we started the renovation process.
The first step was to demolish the existing kitchen, right down to the studs!
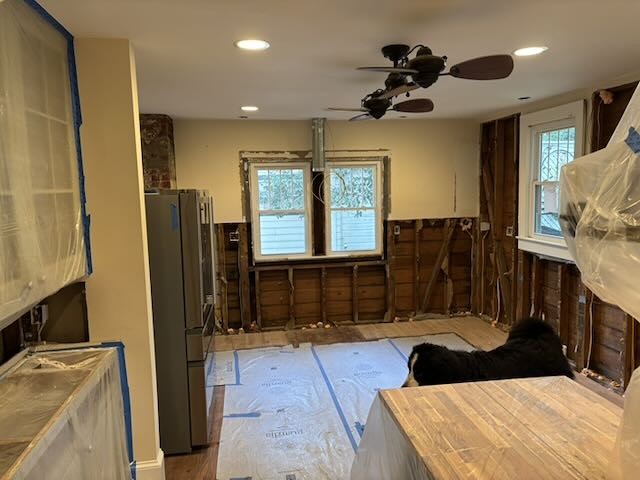
There is almost always a dog in the photo,
On the left is an old, original cabinet where we are replacing the butcher-block countertop and the tile backsplash. They will also be repainted the same green.
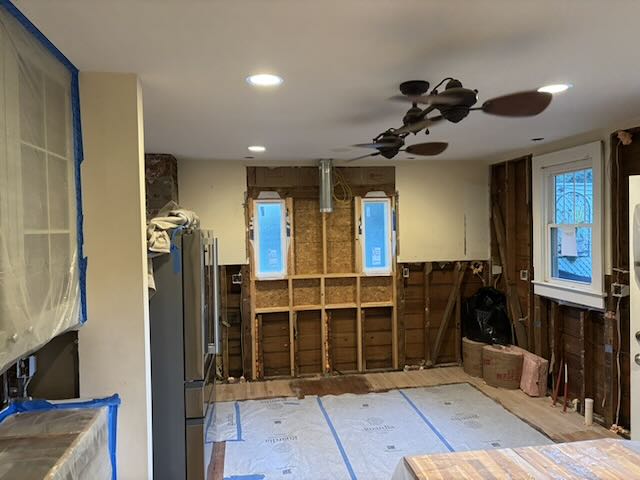
To create a backsplash behind the new range, our designer suggested two smaller windows on each side. We also decided to use slightly opaque glass so we can’t see out to the neighbor’s house and no one can see in. This eliminates the need for curtains or blinds. This photo also shows all the new electrical wiring, although it is probably not obvious, as well as the rough plumbing.
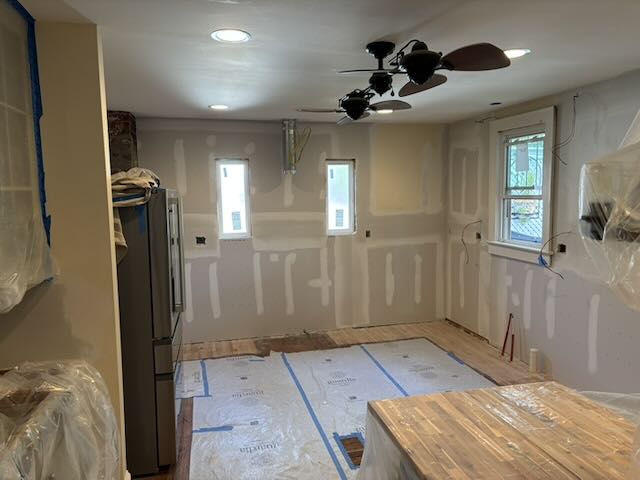
The drywall is now installed.
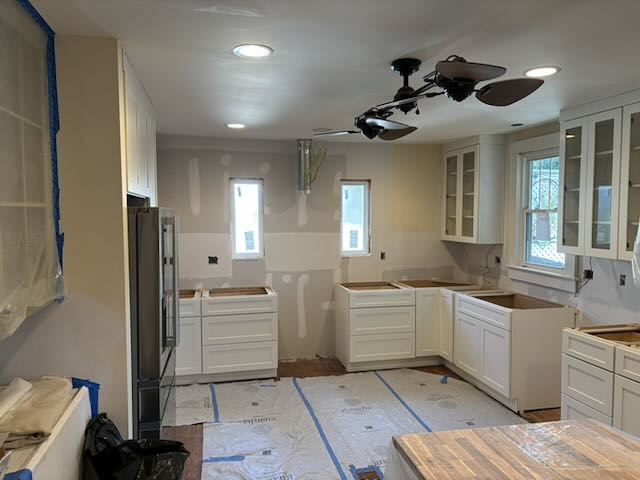
Cabinets installed!
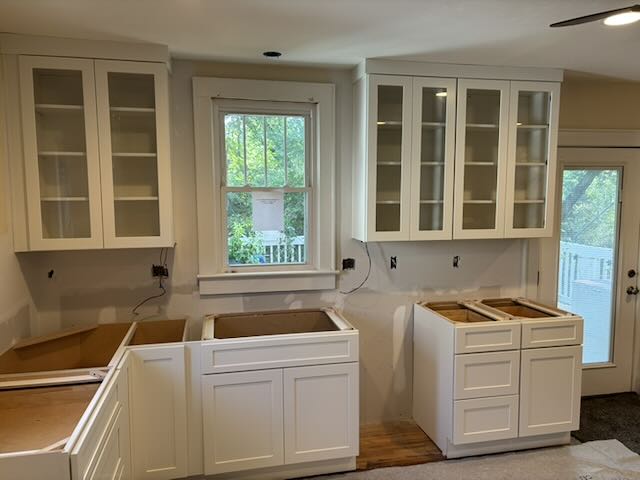
Cabinets on the back wall. These cabinets extend further toward the door than the old ones. That will give us a lot of extra storage, but given the size of the table in the room, it will also somewhat restrict access to the door. I think our solution will be to get a smaller table.
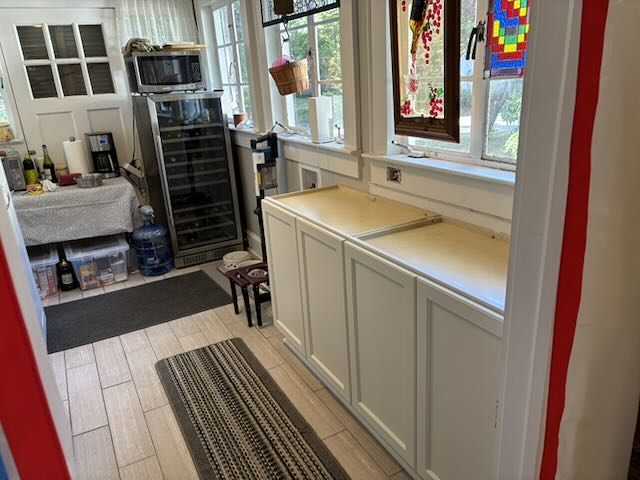
In addition to the cabinets in the kitchen, we are adding a few base cabinets to a room just off the kitchen that was originally a porch on the 1935 cottage, but has been converted to a kind of “pantry” room. Against the back wall is the wine refrigerator and our temporary kitchen.
We cook with a toaster oven, microwave, and InstantPot, and grill outdoors when we can. Wash-up is done in a bathtub. Not fun!
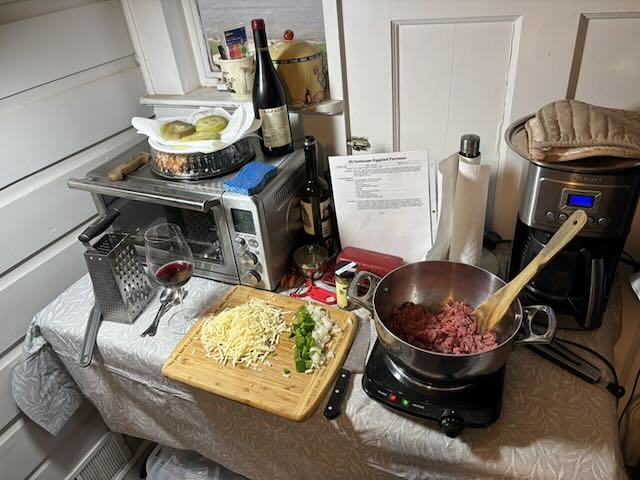
Another photo of our temporary kitchen. We are making Hamburger Eggplant Parmesan, and it turned out delicious. We picked the eggplant fresh from our garden.
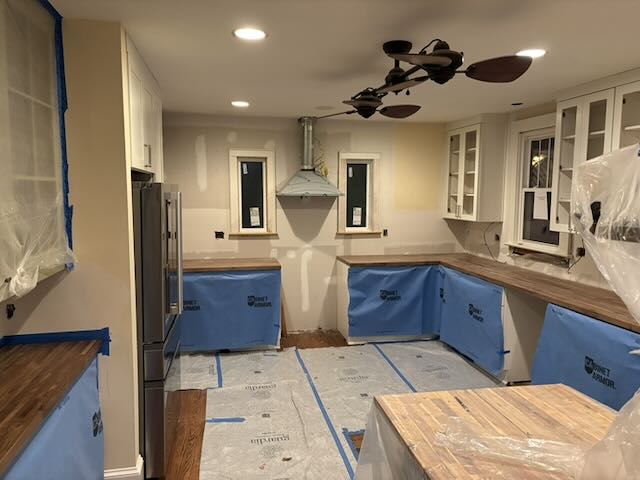
We wanted the frame and trim around the new windows to match the window above the sink area (which we didn’t modify) as closely as possible to retain the character of the old house. Luckily, we found spare framing and trim pieces in the basement, and the carpenter reproduced the look beautifully. We wrapped the cabinets in protective covers because tiling comes next!
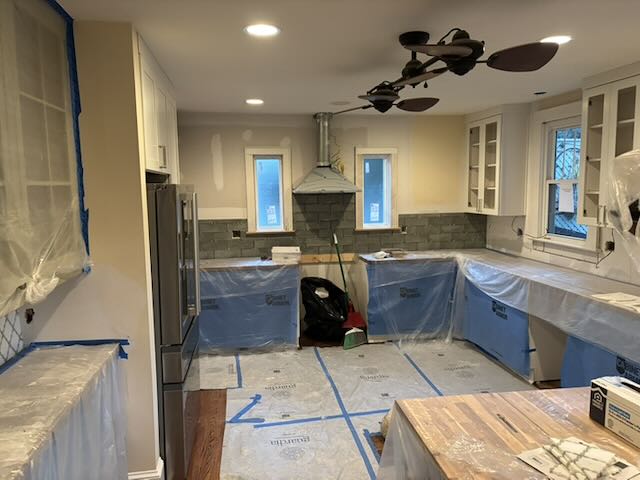
Day one of tiling. You can see the decorative tile at the old cabinets to the left. And you can see the green subway tile backsplash on one wall.
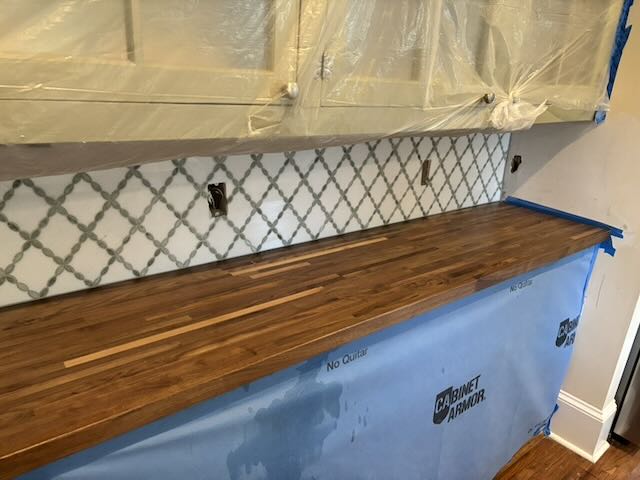
This is the decorative tile at the original cabinets.
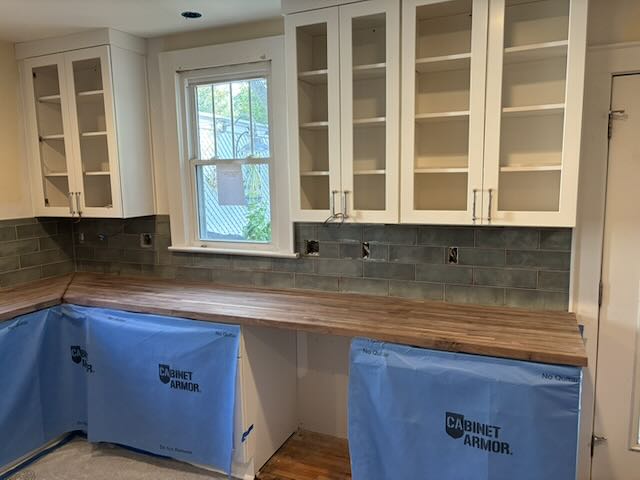
Here’s the backsplash tile where the sink and dishwasher will be.
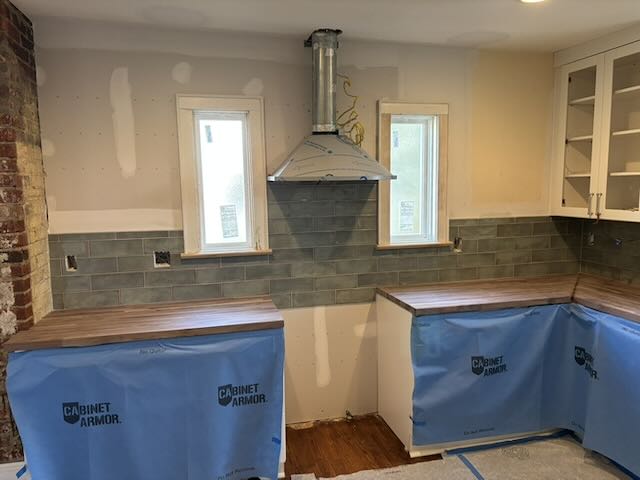
And the backsplash around the range. Very different-looking from the original kitchen.